Halloween may have come and gone, but we’ve another full month of design and decor opportunities to enjoy heirloom and specialty pumpkins.
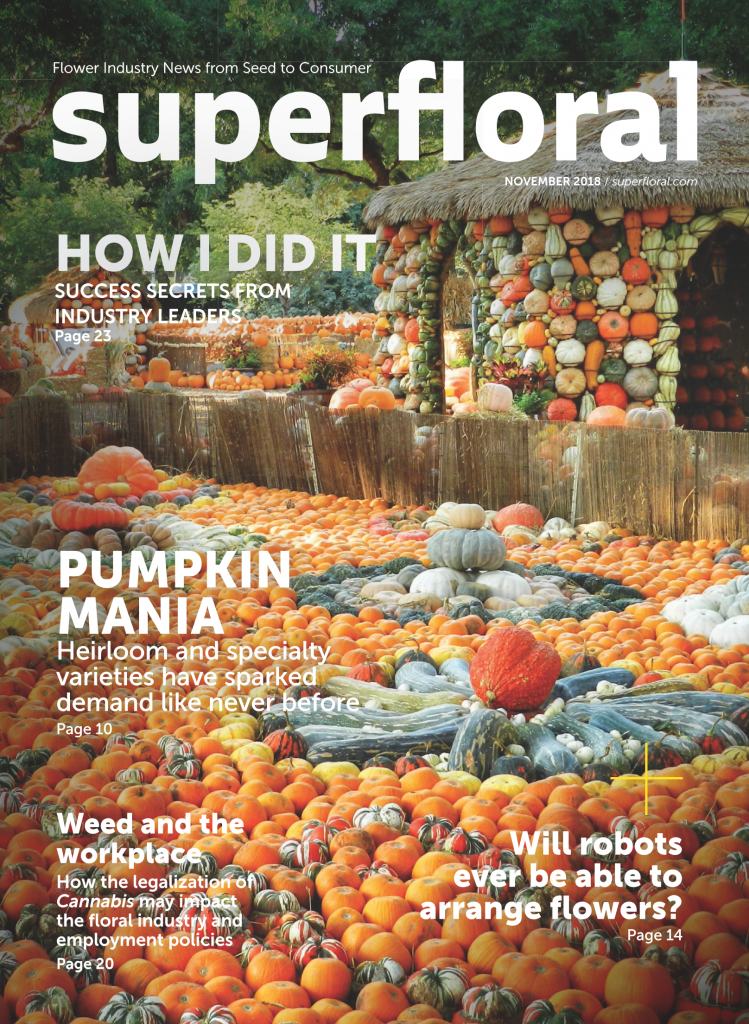
Check out this month’s story, which appears in SuperFloral magazine, which declares these stylish pumpkins “have sparked demand like never before.” In it, we track the pumpkin’s move from grocery produce bins to fabulous floral department displays.
THE FASHIONABLE PUMPKIN
According to Johnny’s Selected Seeds, a major vegetable and flower seed supplier based in Winslow, Maine, pumpkins have been a significant fall harvest crop for over 5,000 years.
Edible pumpkins (Cucurbita pepo and C. maxima) are native to North America. Uncommon Italian, French and Australian varieties have also made their way into autumn’s diverse pumpkin palette of colors, sizes, shapes, suitable for carving, baking, seed roasting and even oil extraction. Thanks to breeding and heirloom seed preservation, the Halloween Jack-o’-lantern is ready for the runway as a fashionable decor element that appeals to floral customers.
While a popular symbol of traditional fall, harvest and holiday decorations, the creativity that pumpkins offer are endless. You can inspire customer demand by elevating pumpkins as a value-added item.
This report introduces several display and merchandising ideas through the Thanksgiving holiday season. Regardless of your available space or scale of ambition, there is a pumpkin decor concept for you here.
They are a great Thanksgiving tablescape piece — long-lasting decorations through November, and many people leave them out through Christmas, especially the white pumpkins —
Katie Elliott, My Garden Overfloweth
Read the full article here: The Fashionable Pumpkin

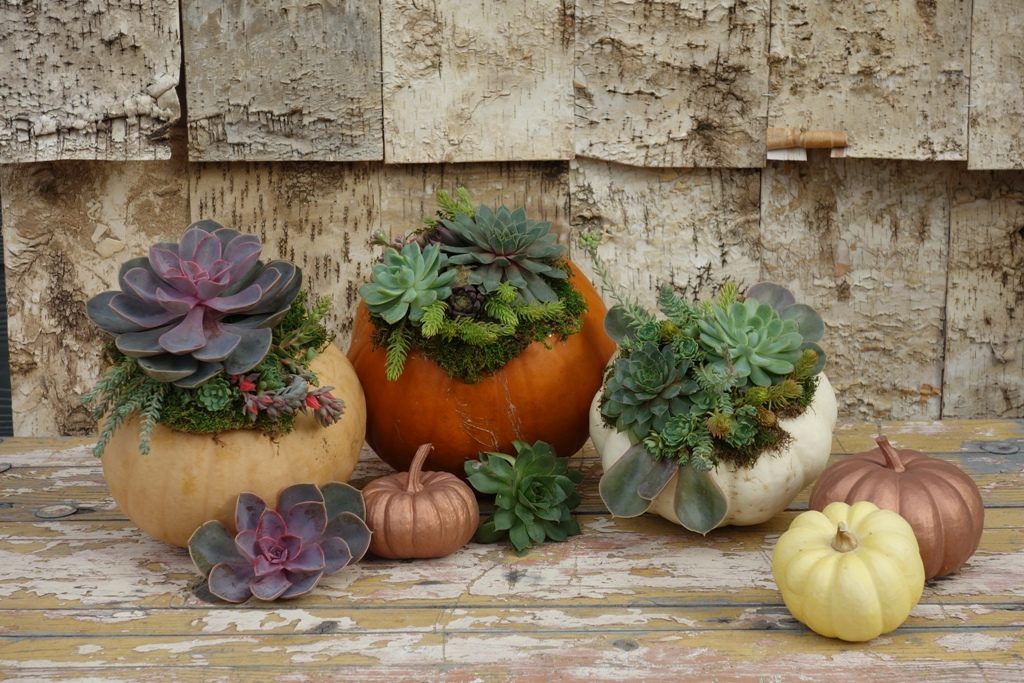
Step-by-Step: Decorate a Pumpkin with Succulents
Materials:
Pumpkin with a short or curved stem
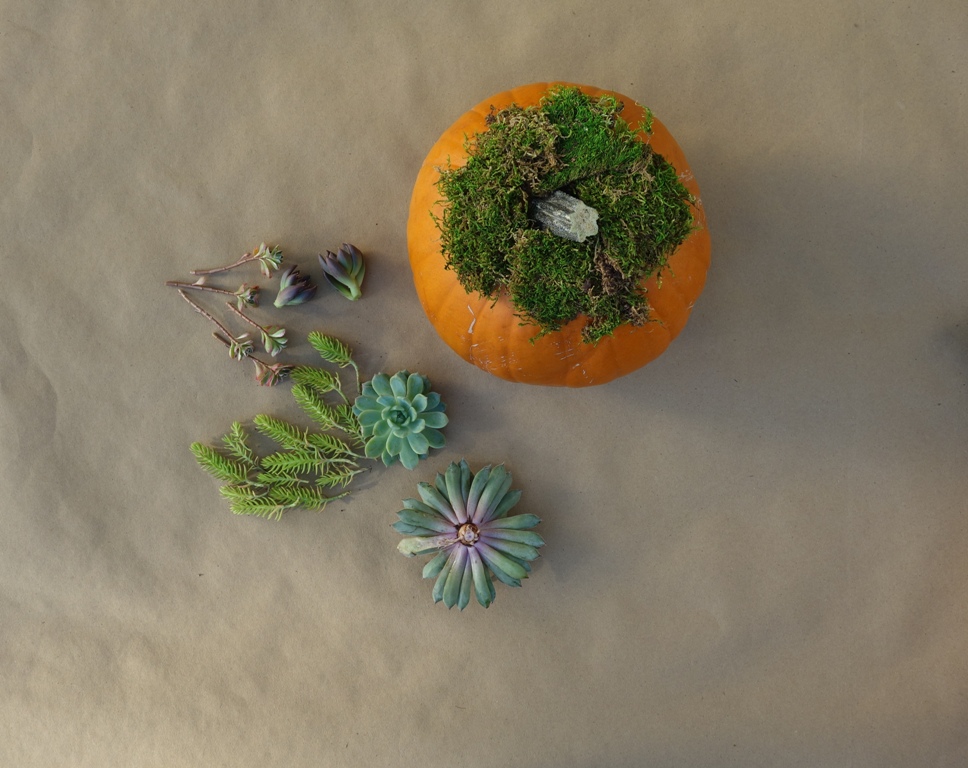
Decorative sheet moss
A selection of succulents and sedum cuttings
Tools:
Floral clippers or snips
Oasis floral adhesive glue or Glue gun
 Step One
Tear or cut sections of sheet moss so there is enough to cover the “top” of a pumpkin. The moss should fill the area where succulents will be placed.
 Step Two
Working quickly, apply glue to the pumpkin in a circular pattern. Press moss sections into the glued area, creating a base for succulents.
 Step Three
Take small cuttings of sedum plants and cut larger “rosette-style” succulents away from stems (remove soil with a brush or paper towel). Determine the arrangement of plants and cuttings before you begin to glue and attach them to the pumpkin.
 Step Four
Begin with the first “focal” succulent, such as a larger rosette (Sempervivum or Echeveria). Squeeze glue onto the back of the piece and press into place. Continue with each cutting, pressing it into place and hiding smaller stems under larger succulents.
 Step Five
Allow glue to dry overnight before moving or displaying. The succulents will produce aerial roots that will anchor into the moss. Spray with a light mist once a week. If you display the pumpkins outside under a covered porch, the succulents will draw moisture from the air and can be misted less frequently. When the pumpkin loses its shape or begins to decay, you can gently remove the succulents and replant them.
