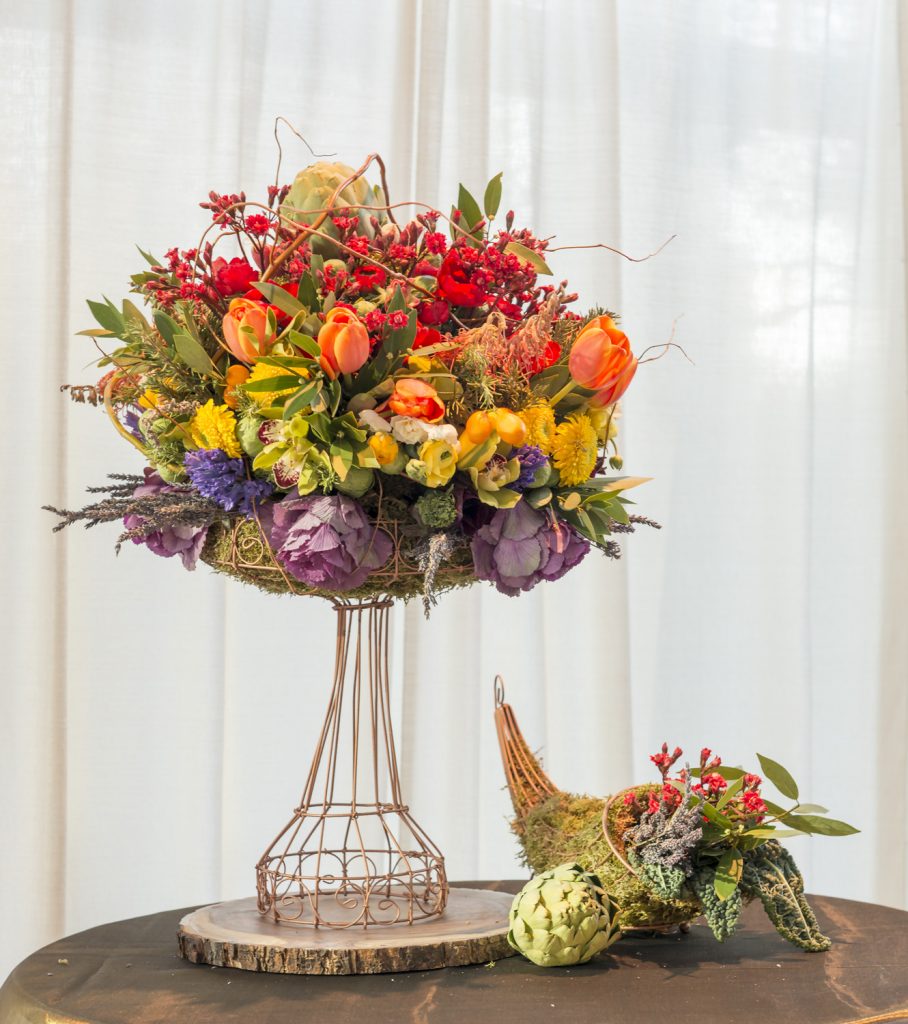
The theme of this year’s Northwest Flower & Garden Show — A Taste of Spring — inspired my “Floral Feast” entry for the floral design competition.
It is fitting that I borrowed from the culinary world and the “Slow Food” ethos because that has been the influence for Slow Flowers‘ education and advocacy projects that encourage consumers and professionals in the floral industry to support domestic and locally-grown flowers. Here’s how I created what you might consider a Floral-Fruit-Veggie Topiary:
FLORAL FEAST
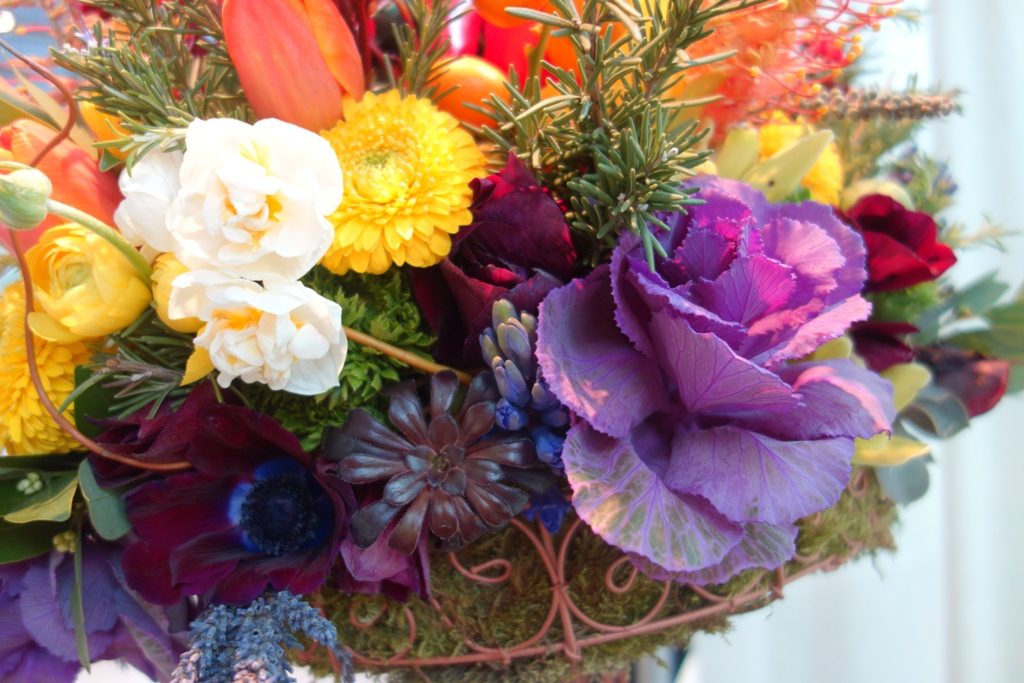
The elevated copper-hued serving basket stands on a smooth cross-section of wood as a base. The top tray as “serving platter” is filled with a towering rainbow of edible food and flowers. The color palette begins at the bottom (Purple/Violet) and continues as a gradient to the top (Red) with a radish-ringed artichoke finial. Here are the ingredients:
Purple/Violet: ornamental cabbage, hyacinth, dried lavender, anemones
Green/Chartreuse: cymbidium orchids, Brussel sprouts, bay, green ranunculus, rosemary sprigs
Yellow: Gerbera daisies, tulips, ranunculus
Orange: tulips, grevillea flowers, kumquat fruit
Red: ranunculus, kalanchoe flowers, red peppers, anemones, radishes
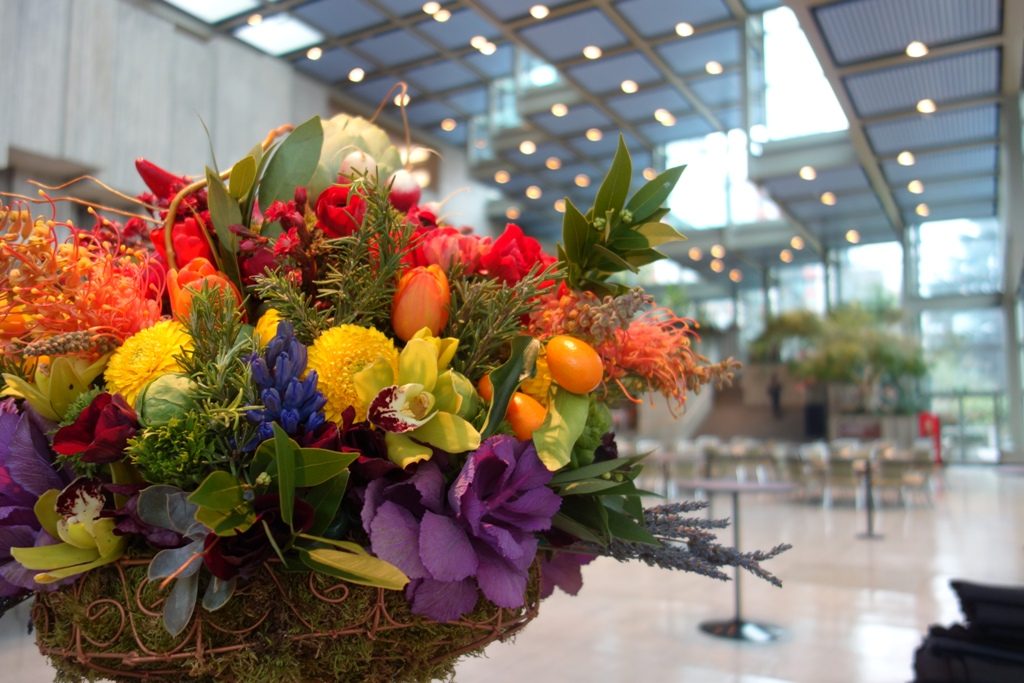
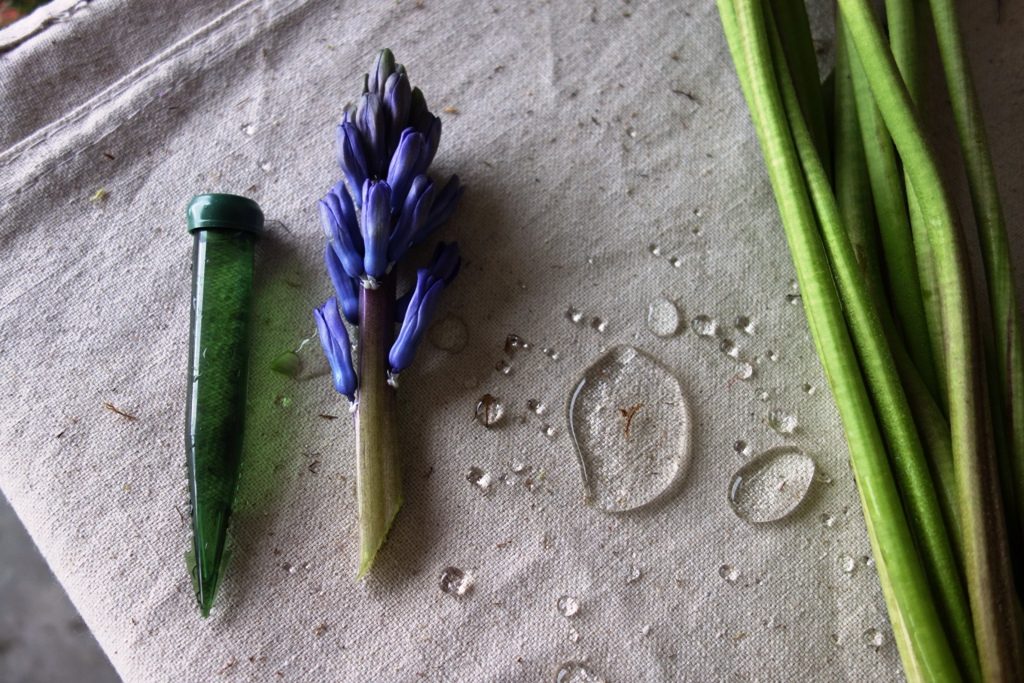
The entire piece was built on a chicken-wire-moss-curly willow frame. Each of more than 150 stems were placed in water tubes.
Of course, this is the very type of design that you might see created with a huge cube of floral foam that was “shaved” down into a topiary base for inserting the stems. That was not a method I wanted to employ so I sought a way to build this piece using another method. It took much more time and cost to execute, but it was worth it.
Here’s how I did it:
 Step One: Line basket of the tray with sheet moss
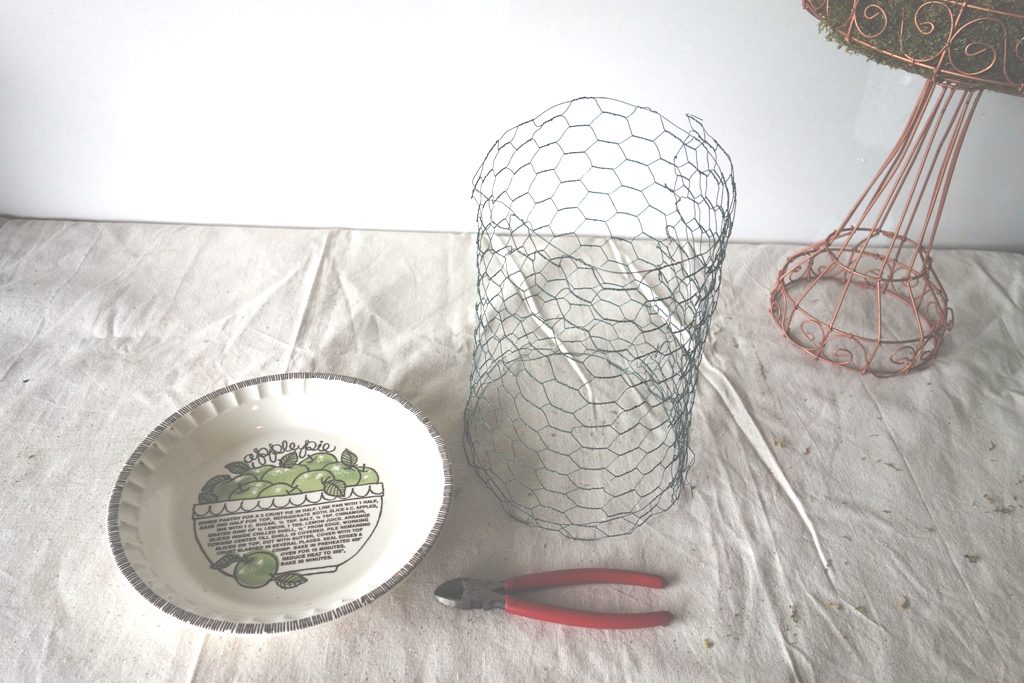 Step Two: Form a tall cylinder of chicken wire, connecting the cut ends by “sewing” with thin paddle wire
 Step Three: Attach the bottom opening of the cylinder to the deep pie dish using floral tape
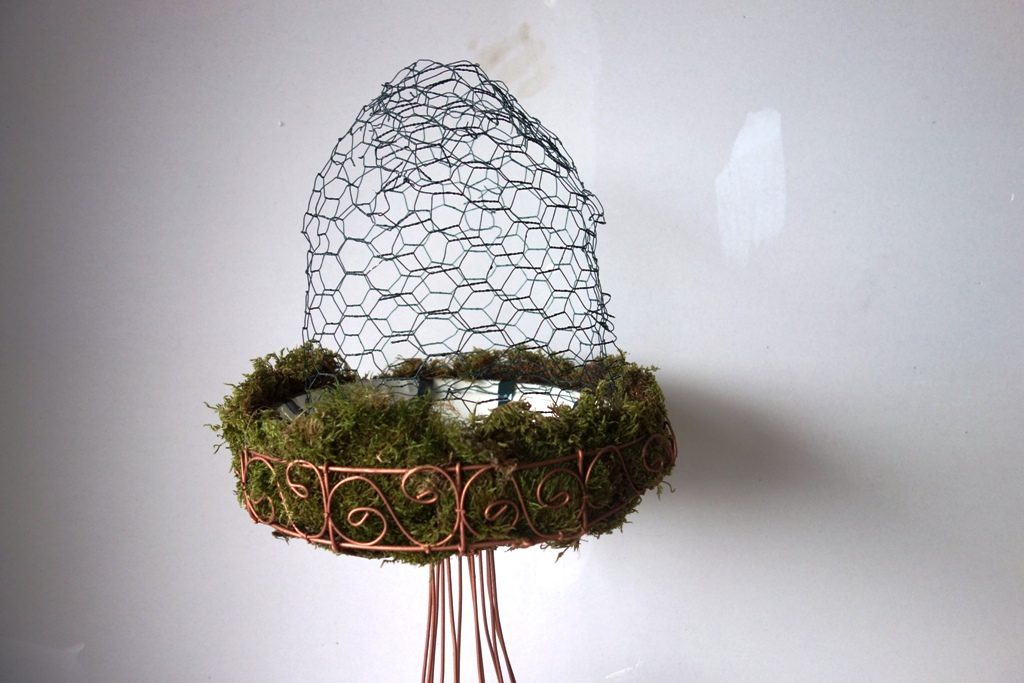 Step Four: Make a 3- to 4-inch deep vertical cut in four spaces, equidistant from one another, along to opening of the chicken wire cylinder. Then bend those sections together to form an oval-shaped top. The excess wire can be trimmed off. “Sew” these sections with thin paddle wire to secure the domed “topiary” shape.
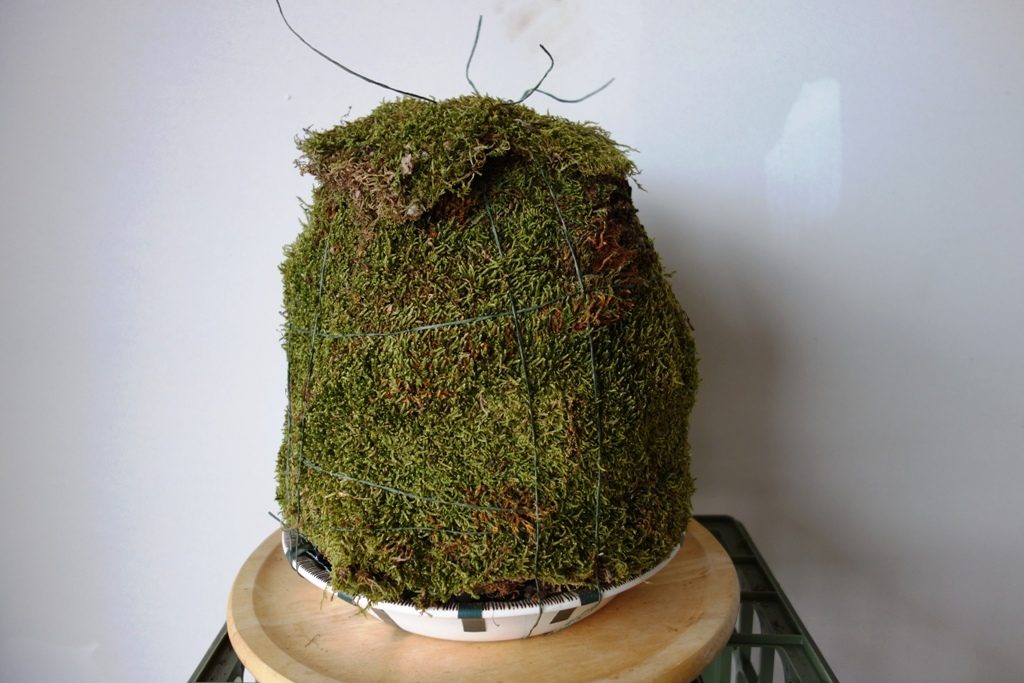 Step Five: Wrap the topiary with more sheet moss and secure in place with loops of bind wire
 Step Seven: Circle the form with stems of curly willow and allow the tips of each stem to arch freely. This gives more texture to the design, but also adds stability to the basically hollow chicken wire base.
 Step Six: Place pie dish/topiary piece into moss-lined copper stand and attach with more tape and bind wire
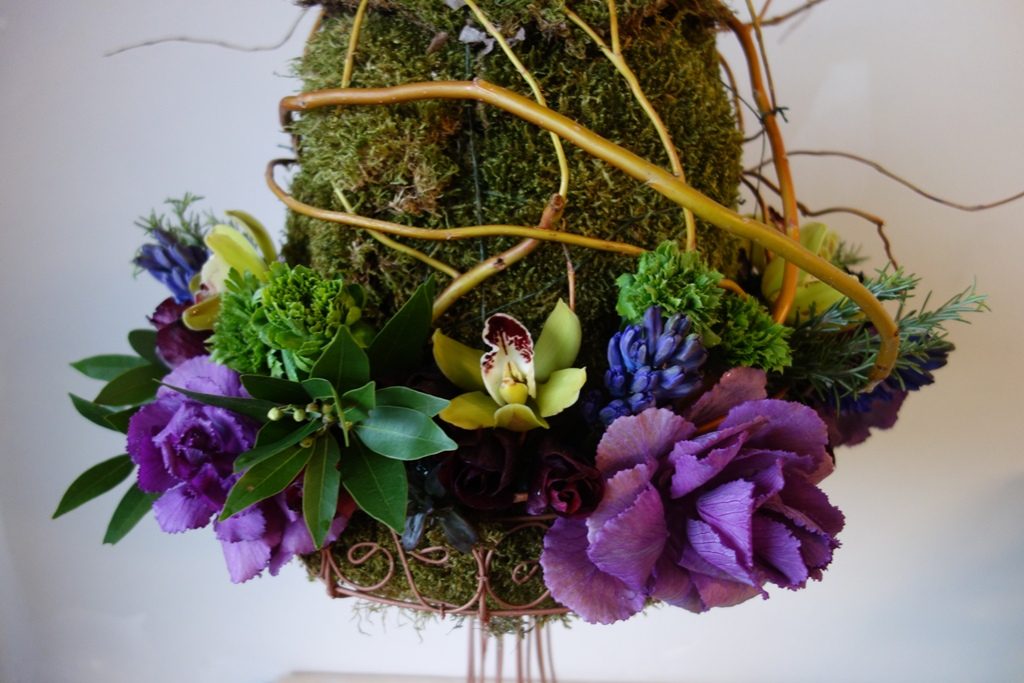
 Step Eight: Build the layers of color, using flowers, foliage and herbs, fruits and veggies, from bottom to top, following the R-O-Y-G-B-I-V rainbow. Each individual stem is water-tubed and inserted into the form. Some veggies (brussel sprouts, radishes, peppers) and fruits (kumquats) can be inserted with wood picks; Top the piece with an artichoke as “finial” and ring that with a collar of radishes and peppers.
As an accent, I added a copper cornucopia at the base. This is also lined in moss and features more ornamental-edible ingredients, including dinosaur kale, bay, lavender and kalanchoe. An artichoke accents the vignette (see top photo).
Congratulations to my fellow floral designers who exhibited beautiful arrangements, as well!
FLORAL COMPETITION:
1st Place – Fena Flowers
2nd Place – The Art of Forest Blooms
3rd Place – Young Flowers
Best Use of Show Theme – The Flower Lady
People’s Choice Award – The Art of Forest Blooms
All my floral ingredients were sourced from Seattle Wholesale Growers Market, a farmer-owned cooperative that sells local and domestic flowers to the floral trade.

lovely flower arrangments I love the colours well done!!