Making a marigold-infused silk table runner with petal patterns from hollyhocks, dahlias, calendula, and Black Knight scabiosa
“Let’s make wreaths together,” my friend Carrie proposed in an email. We were planning a few days to host our friend Nancy, who would be visiting from New York City in early November.
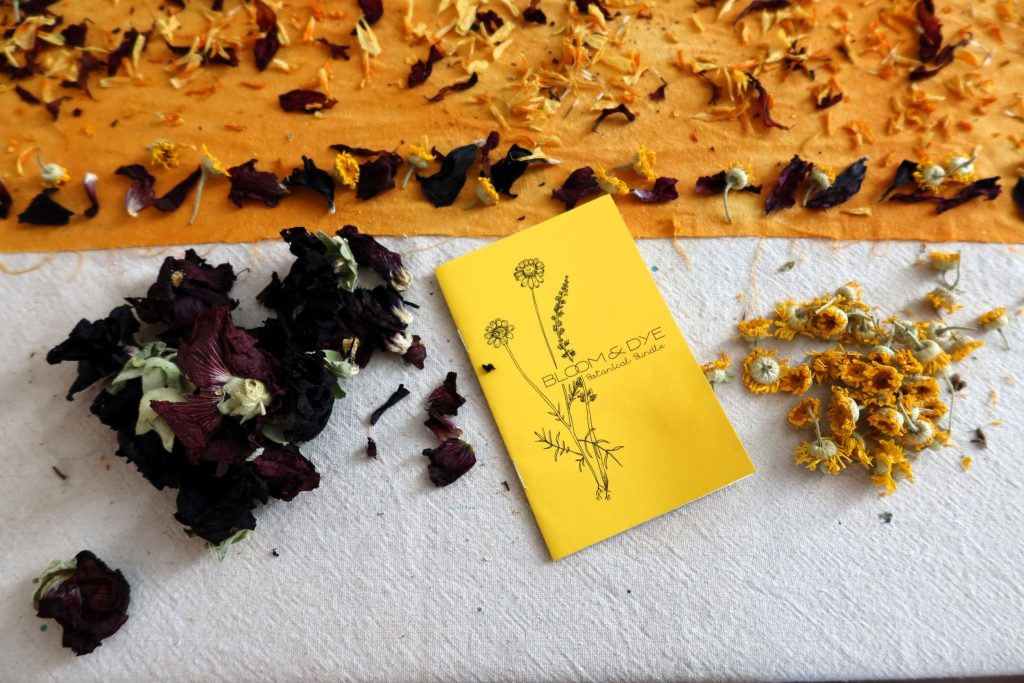
“Hmmm….,” I thought. “How will Nancy take a wreath home on the airplane?” Nancy is a former menswear designer and talented artist. Carrie works for the Nature Conservancy and she loves the out of doors. And I love flowers. What else could we make? I was reminded of a Bundle Dye Kit that Slow Flowers member Julie Beeler of Bloom & Dye had gifted me a few years earlier. Bundle dyeing is one of the simplest ways to achieve a rich diversity of colors and textures, she wrote on her blog post.
So we asked Julie to create three bundle dye kits with the dried flowers, mordant to treat the fabric to absorb botanical pigments (Aluminum potassium sulphate), and instructions. She suggested I purchase the silk material from one of her favorite sites, Dharma Trading. I ordered the natural 54-inch wide Silk Noil. Three yards of 54-inch silk can be cut into three 18-inch x 36-inch table runners. The price was $45 so that means each table runner cost $15. Julie charged us $30 for each customized kit and the instructions (not to mention the virtual coaching!).
Carrie ended up not being able to join us, so Nancy and I made the table runners at my home over a few days’ time. Julie gave us instructions and it was a bit time-consuming. If you’re going to try this project, give yourself a long weekend!
- “Scrub” the fabric to remove any sizing or finishes. As Julie advised: “You scour the fabric before dyeing to remove any remanents from the manufacturing process that would keep the dye from binding nicely. Basically,you put the fiber in a pot of water with a few drops of soap. Bring it up to temperature and let it sit at that temperature for an hour.”
- In order to scrub the fabric, Nancy and I headed to Goodwill to find a big pot. Even though the dried flowers are organic, because of the Alum and because some of the flowers are possibly not edible, Julie recommends using pots that are not used for cooking. We found a really nice (big) enamel canning pot for under $10 on our Goodwill visit.
- Once the fabric was scrubbed, it was time for the mordant step. This was truly the most stressful, because of the calculations needed to measure out the correct weight of Alum to fabric (see instructions). Honestly, we just used all three 25-gram packets that Julie included in the kits. We figured we would be close enough. Luckily, this worked and I guess if I go hard-core into natural fabric dying in the future, I’ll invest in a metric scale! For silk: “Warm water to 140 degrees, dissolve 15% WOF Alum into the warm water, and then drop in your fibers. Increase the temperature up to 160 degrees with the fibers in the pot and maintain this temperature for 1 hour after which remove from the heat, let cool, remove fibers, rinse and hang to dry.”
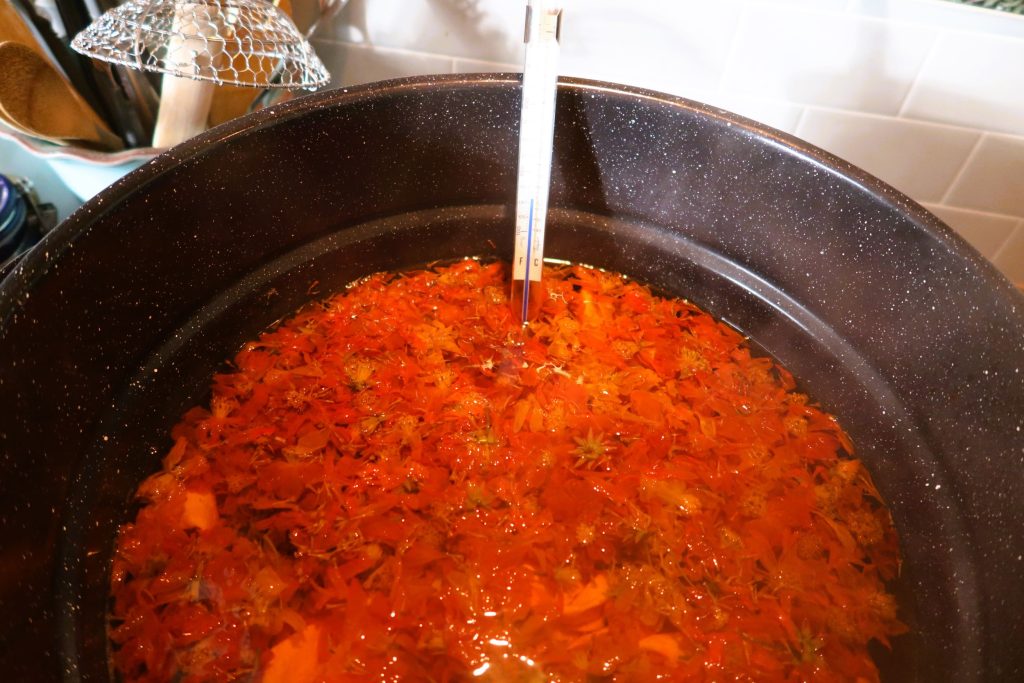
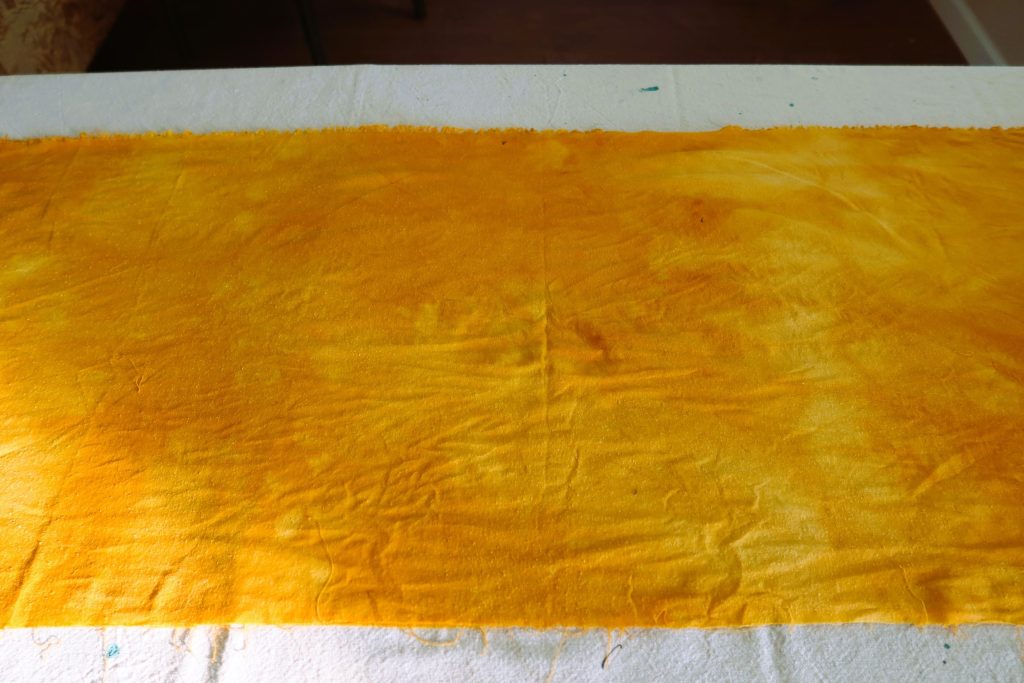
- The next day, we decided to create our “base color” for the table runners. We combined all of the marigold flower heads from the three kits to make a lovely orange-gold dye bath. Julie’s instructions: “If you are not interested in having the natural white background color of the silk, you could create a dye bath and dye your silk first before doing the bundle dye. Take each packet of flowers from your kits and combine them together. I recommend using the Dhalias (soft golden yellow/green) or Marigolds (mustard yellow/orange) to make a dye bath.”
- We soaked the fabric in the dye bath for about 1 hour, keeping the temperature around 160. As we cooked up our silk soup, we were amazed at the gorgous saffron-hued dye bath. The silk fibers soaked up the color beautifully.
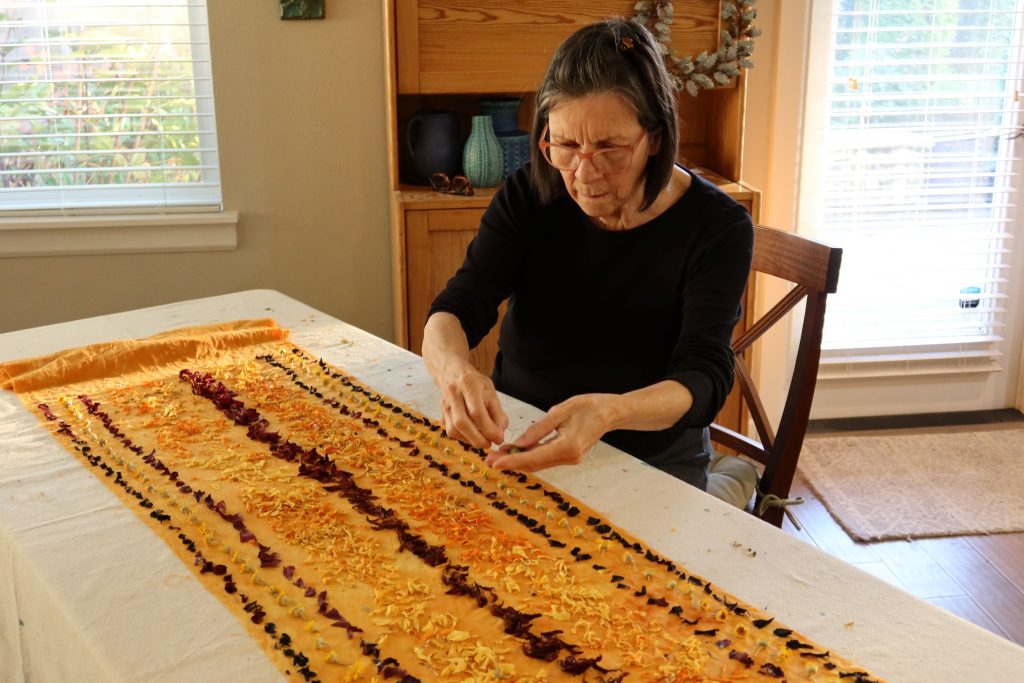
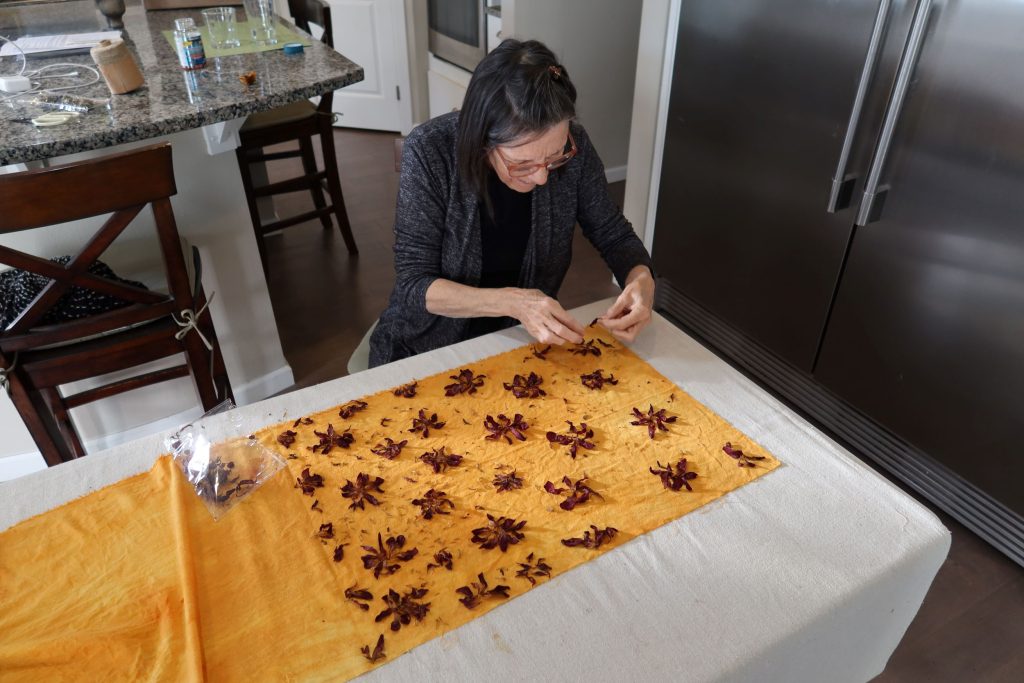
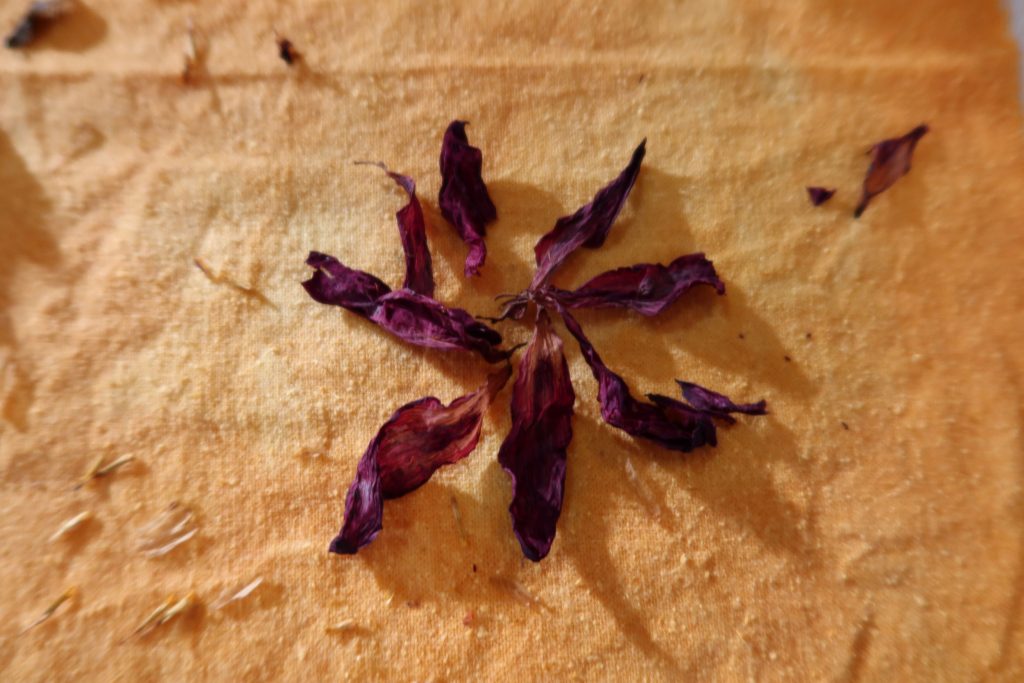
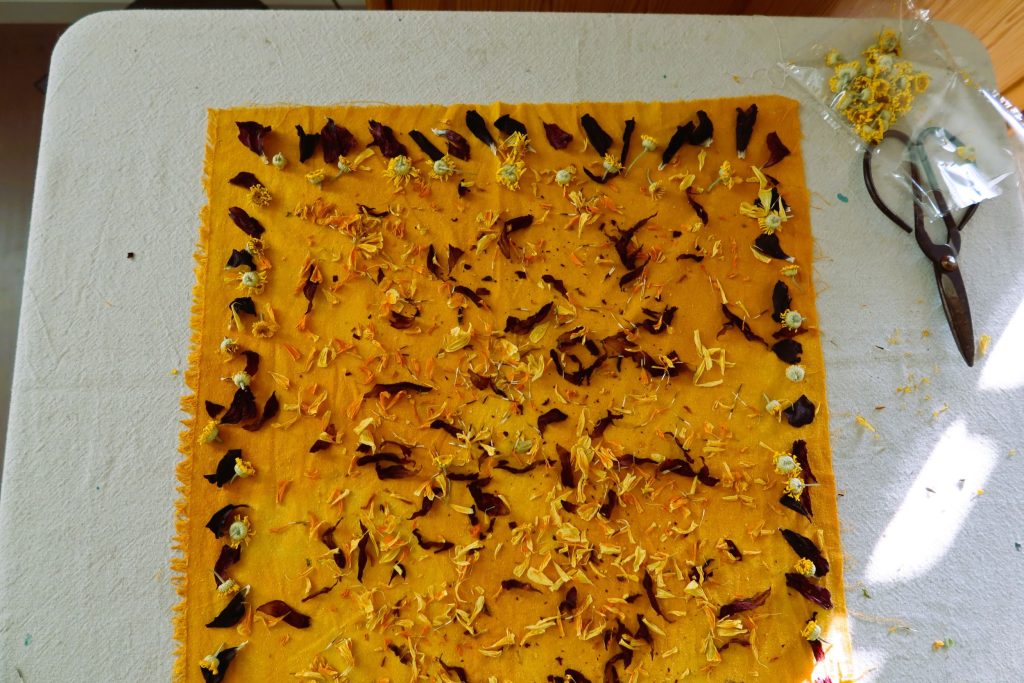
- The following day, we got busy with our bundle-dye process. But first, we wet the fabric table runners so that the material would better absorb the petal pigments. Nancy and I worked at separate tables to decorate our fabric. So talented, Nancy amazed me with her process. She deconstructed the dried dahlias to use individual petals, arranging them into new “flowers.”
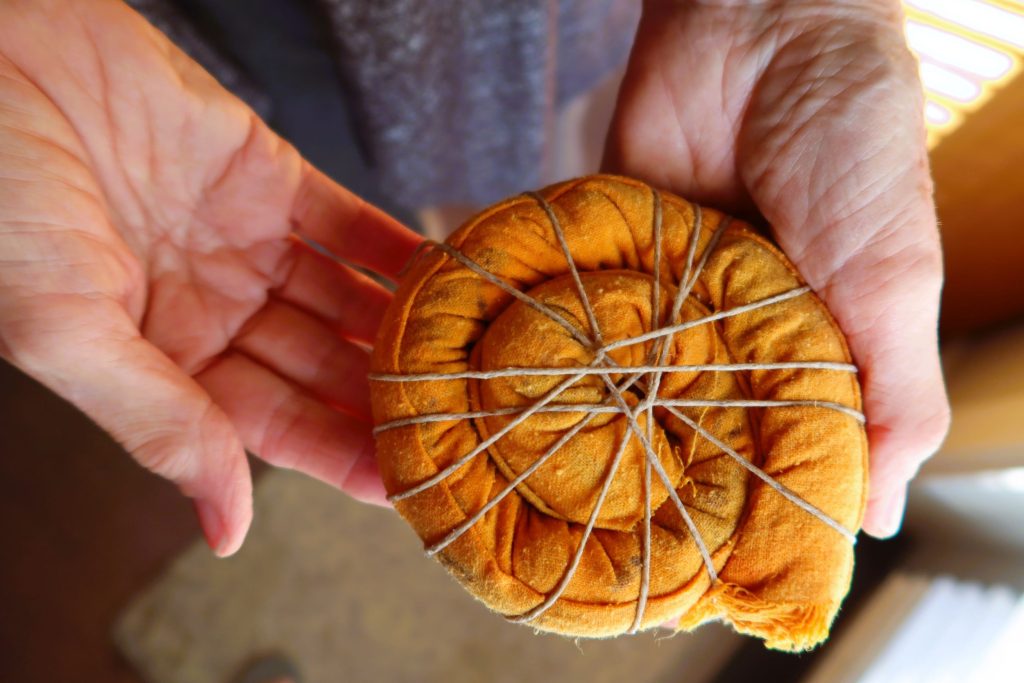
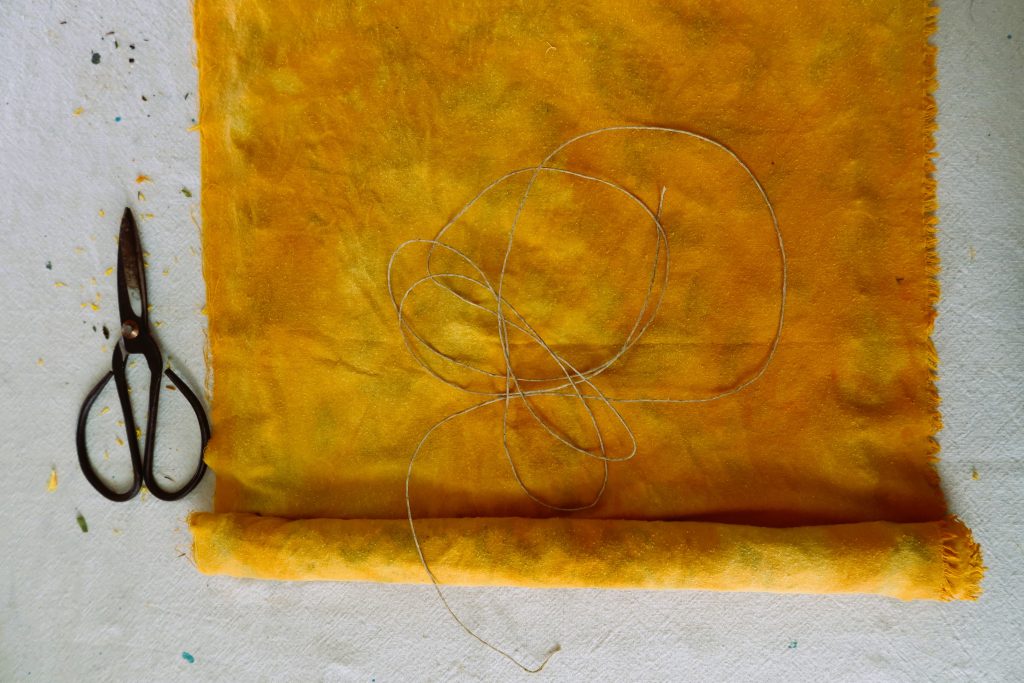
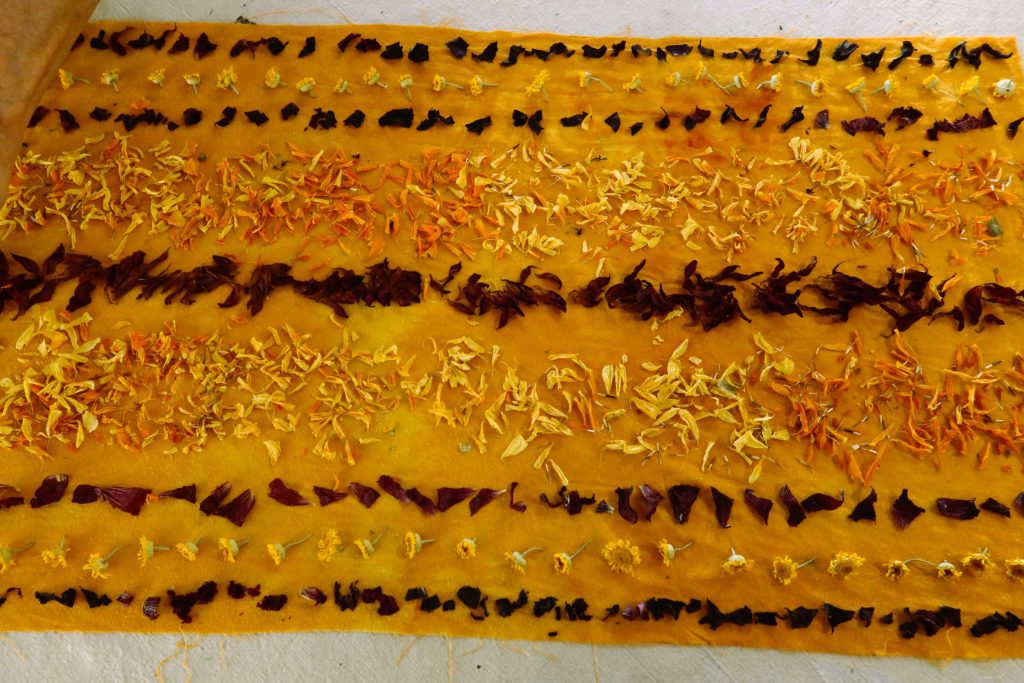
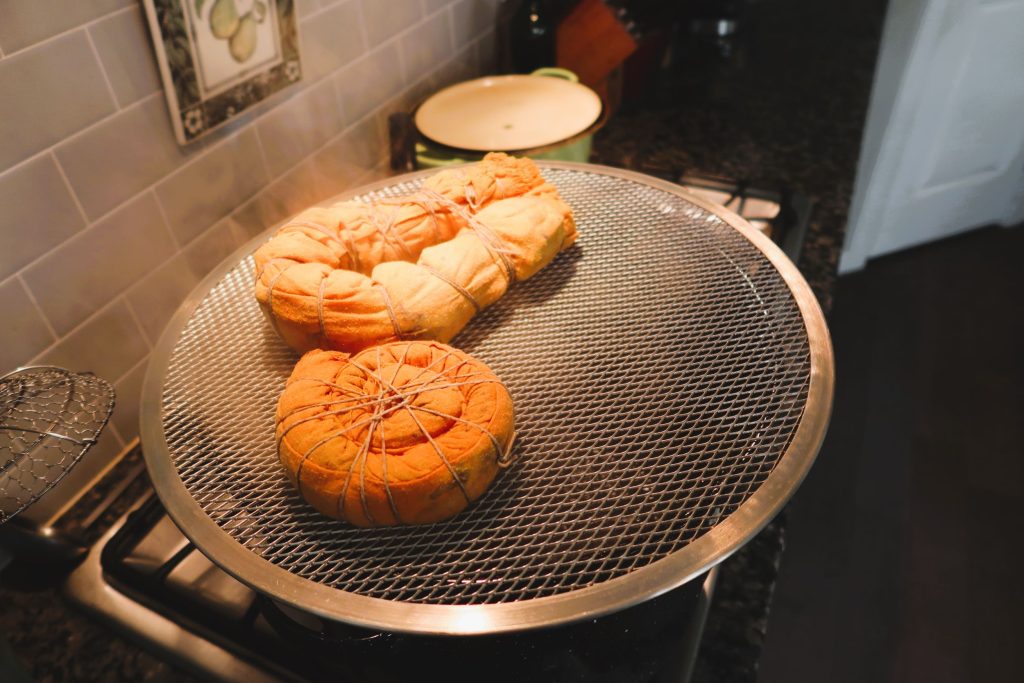
For my part, I used bits of the super-dark hollyhock petals to outline my entire table runner with a “border” design; then I sprinkled a mix of petals in the center of the runner. I made a version of this design for Carrie’s runner — with double stripes of hollyhock petals along the edges and a longer, wider, “stripe” of the shredded dahlia petals down the center. Rather late in the process, we realized that the other yellow and orange flowers would probably not produce much contrasting pattern against the marigold-dyed base color. And that’s exactly what we found. The calendula and dyer’s chamomile didn’t produce dark enough contrasts of yellow and orange. Good lesson to consider for next time. - After laying out our petals, we rolled the fabric runners, burrito-like, to make tightly-wrapped bundles; we used natural twine to tie the bundles. Nancy did something rather creative and rolled her fabric on the diagonal. The result was beautiful!
- Then, we steamed the little packets. I had bought a wire mesh rack (also from Goodwill) to lay over the top of the kettle. Filled halfway with water that we brought to a simmer, the kettle produced steam that rose through the mesh rack. That steam moved through the fabric bundles and produced pigment directly from the petals to the silk. Turning the bundles every 15 minutes or so kept things balanced.
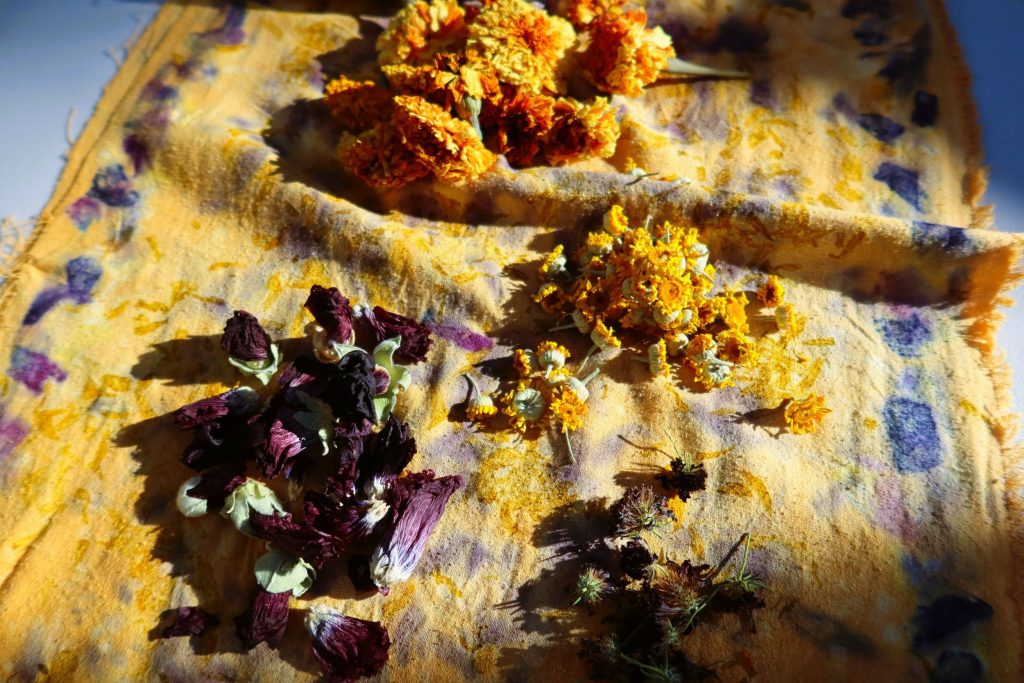
- In all, we probably steamed our fabrice for 1-1/2 hours. Once the pieces had cooled off, we had the big reveal! Untied and unrolled, the fabric was brillantly-colored and patterned. It was so fun to see how the petal designs emerged.
The cleanup was pretty easy! We brushed wet petals off of our silk and shook things out in the garden to let the plum, burgundy, orange, and golden petals compost naturally. Nancy took her fabric home to NYC with plans to cut the three yards of silk into six 18-inch-square napkins. I delivered Carrie’s bundle-dyed silk runner to her daughter’s home for their Thanksgiving table, and gifted the other one to our Thanksgiving hosts, Britt and Bryon.
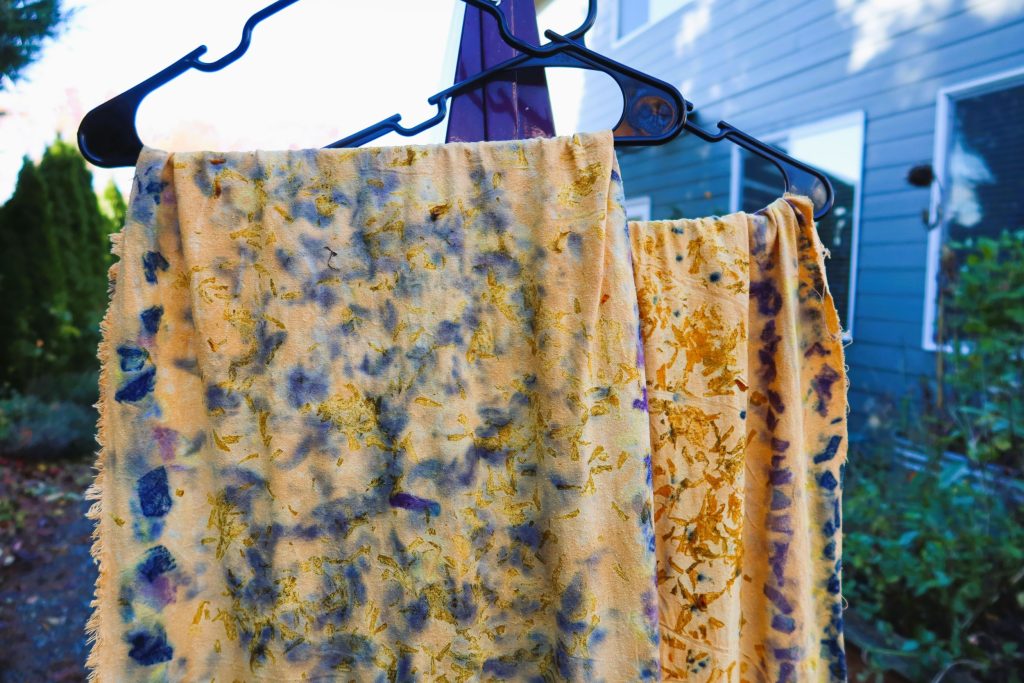
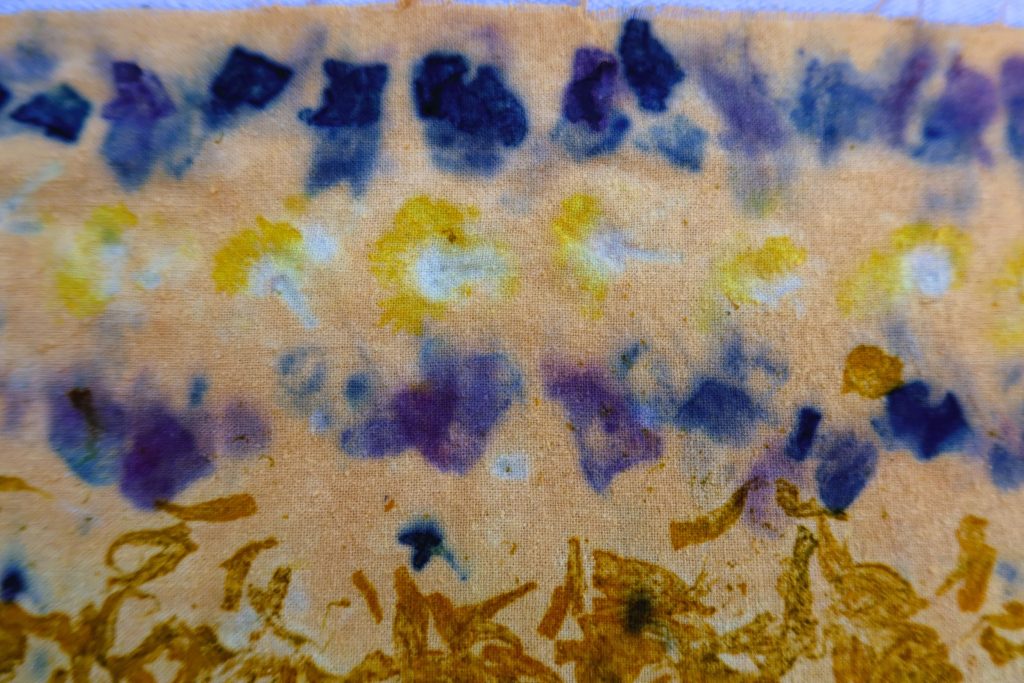
Yes, this all took much longer to create than a holiday wreath-making session. But I loved the experience and I especially loved learning from Julie Beeler. I hope to take one of her classes in the future. Nothing beats learning in real time — from an expert.
